Building a Blogging Platform with Django

Django, a high-level Python web framework, encourages rapid development and clean, pragmatic design.
In this post, we'll explore Django's architecture and set up a personal blogging platform complete with user authentication for authors.
Blog Application
What Are You Going to Learn?
In this comprehensive guide, the aim is to provide a holistic understanding of building a blog application using Django.
By the end of this journey, you'll have gained insights into the following areas:
Django's MVC Architecture:
- Models: Understand how Django interacts with databases using its ORM (Object-Relational Mapping) system.
- Views: Dive deep into the business logic layer and learn how Django processes incoming requests and returns appropriate responses.
- Templates: Grasp the basics of Django's templating engine, which allows for dynamic content rendering in HTML.
User Authentication:
- Registration: Learn to create user registration forms and handle user sign-ups.
- Login & Logout: Implement user authentication mechanisms, allowing users to securely log in and log out.
- Permissions: Understand how to restrict access to certain parts of your application based on user authentication.
CRUD Operations:
- Dive into the core of web applications by learning how to Create, Read, Update, and Delete blog posts.
Django Admin Interface:
- Explore Django's built-in admin interface, a powerful tool for managing the content of your blog.
Styling with Bootstrap:
- Integrate Bootstrap, a popular CSS framework, to make your blog visually appealing without starting from scratch.
By the end of this guide, you won't just have theoretical knowledge; you'll have a fully functional blog application as a testament to your hard work and learning.
Whether you're looking to start a personal blog, enhance your web development skills, or understand Django more deeply, this journey promises valuable insights and skills.
Django's Architecture: A Deep Dive
Django's architecture is often referred to as the MVT (Model-View-Template) pattern, which is a variation of the MVC (Model-View-Controller) pattern.
Here's a more detailed breakdown:
1. Model
The Model represents the data structure and is essentially the abstraction of your database. It provides a high-level, Pythonic way to define your database tables and their relationships.
- Fields: Represent the columns in the database table. Django provides various field types like
CharField,IntegerField,DateField, etc. - Managers: Django models come with a default manager named
objects. Managers are a way to create custom query methods to retrieve data from the database. - Meta Options: You can use the inner
Metaclass in a model to define metadata like ordering of records, database table name, etc. - Signals: Signals allow certain senders to notify a set of receivers when some action has taken place. They're used for allowing decoupled applications to get notified when certain actions occur elsewhere in the application.
2. View
The View in Django is more akin to a controller in the traditional MVC pattern. It handles the business logic and is responsible for processing user input and returning a response.
- Function-Based Views (FBVs): These are simple functions that take a request and return a response.
- Class-Based Views (CBVs): These are more structured and reusable than FBVs. They allow you to organize a view behavior through classes and mixins.
- Middleware: Middleware classes process requests and responses globally before reaching the view or after leaving the view. Common uses include session management, authentication, and CSRF protection.
3. Template
The Template is responsible for defining how the data will be displayed. It's a presentation layer that handles the user interface.
- Template Language: Django provides its own template language, which is a mix of HTML and Django-specific tags and filters.
- Static Files: These are your CSS, JavaScript, and images. Django provides the
statictemplate tag to handle the URLs for these files. - Media Files: These are user-uploaded files like profile pictures. Django handles these separately from static files.
4. URL Dispatcher
Before the request reaches the view, it's passed through the URL dispatcher, which maps URLs to views.
- Path Converters: This allows you to capture values from the URL. These values are then passed to the view as arguments.
- Namespaces: Useful for reversing URLs, especially when you have multiple apps in a project.
5. ORM (Object-Relational Mapping)
Django's ORM is a powerful tool that lets you interact with your database like you would with SQL. But instead, you use Python code.
- QuerySets: Represent a collection of database queries. They allow you to read the data from the database, filter it, and order it.
- Migrations: These are Django's way of propagating changes made to the models (like adding a field or creating a new model) into the database schema.
6. Admin Interface
One of Django's most powerful features is its automatic admin interface. It reads metadata from your models to provide a quick interface for managing your data.
7. Forms
Django provides a form system that handles rendering forms as HTML, validating user-submitted data, and converting that data to native Python types.
- ModelForms: Automatically generate a form from a Django model.
8. Authentication
Django comes with a built-in user authentication system. It handles user accounts, groups, permissions, and cookie-based user sessions.
In essence, Django's architecture is designed to help developers create web applications quickly, securely, and scalably.
Its "batteries-included" philosophy means that many common functionalities are already built-in, waiting to be utilized.
Setting Up a New Django Project and App
Starting a new Django project involves a series of systematic steps that set the foundation for your web application.
Once the project is set up, you can then create individual apps within it.
Think of the project as the entire web application and the apps as components or modules of this application.
1. Install Django:
Before you can create a Django project, you need to have Django installed.
Use pip, the Python package manager, to install it:
pip install django
2. Create a New Django Project:
Once Django is installed, you can create a new project. Use the django-admin command-line tool for this:
django-admin startproject blogging
Replace blogging with your desired project name.
This will create a new directory with the same name as your project, containing the basic directory structure of a Django project.
3. Navigate to Your Project Directory:
Change your current directory to the newly created project directory:
cd blogging
4. Create a New App:
Within a Django project, you can have multiple apps.
To create a new app, use the manage.py script, which is a command-line tool that comes with every Django project:
python manage.py startapp blog
Replace blog with the name you want for your app.
This will create a new directory named blog with a structure set up for a Django app.
5. Register the App:
For Django to recognize your app, you need to register it.
Open the settings.py file of your project (located in the blogging directory).
Find the INSTALLED_APPS setting and add the name of your app to this list:
INSTALLED_APPS = [
    ...
    'blog',
    ...
]
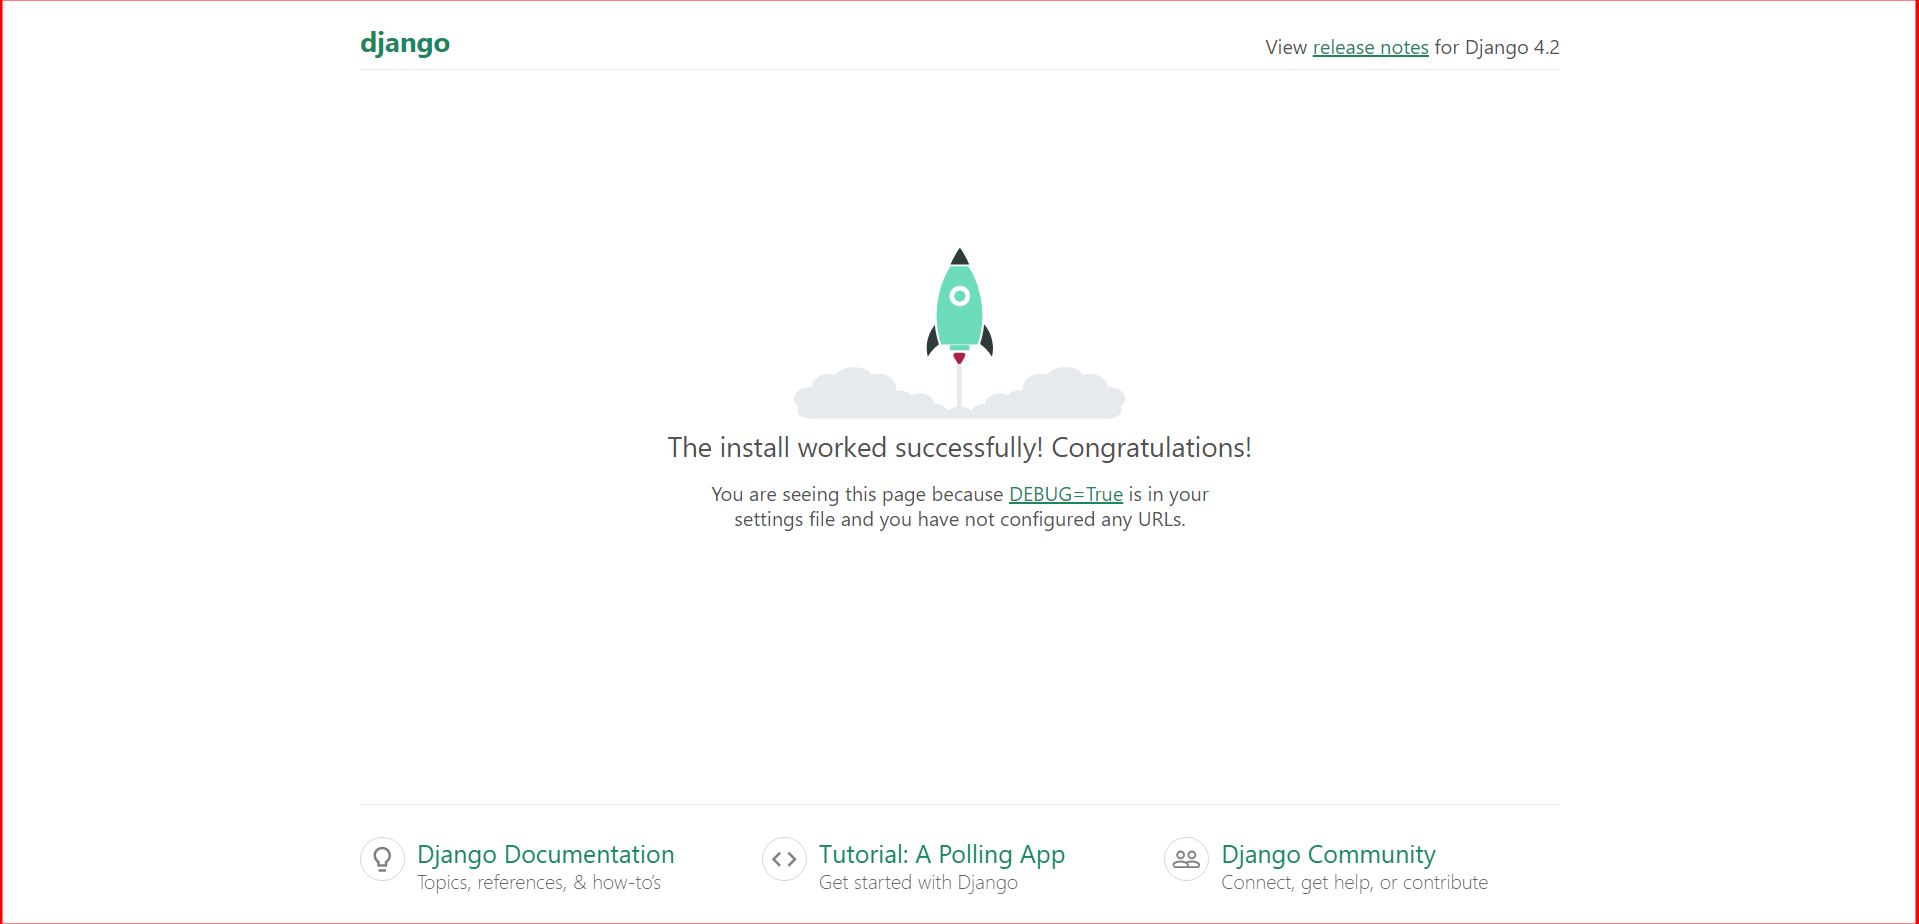
6. Run the Development Server:
Before diving into building features, it's a good practice to ensure everything is set up correctly.
Start the Django development server:
python manage.py runserver
You should see a message indicating the server is running.
By default, it will be accessible at http://127.0.0.1:8000/.
Open this URL in your web browser.
If everything is set up correctly, you'll see a welcome page indicating that the installation was successful.
With these steps, you've laid the groundwork for your Django project and app.
You can now proceed to define models, views, and templates to shape your web application.
Building a Blog Application
Building upon the foundation of Django's architecture, let's dive into creating your blog application.